How Surf Dayton Skate Decks are Made
Surf Dayton skate decks are made locally here in Dayton Ohio by us directly. All decks are built using Canadian maple and birch veneer from mills that are participants of the internationally recognized Sustainable Forestry Initiative (SFI) Program and the Forest Stewardship Council (FSC). They are glued, vacuum sealed and then cut and hand shaped in our workshop. All our shapes are surf style cruisers and longboards to give the feeling of surfing on land since we are all surfers here! Many hours go into each deck and we wanted to give some insight into the process.
Tools & Materials
4 inch paint roller
Pencil
Drill and bits with counter sink
Sander with multiple grits
Hand Router
Jigsaw or Band Saw
Stain, Primers, Paint, Polyurethane.
1/16th thick Maple Vaneer
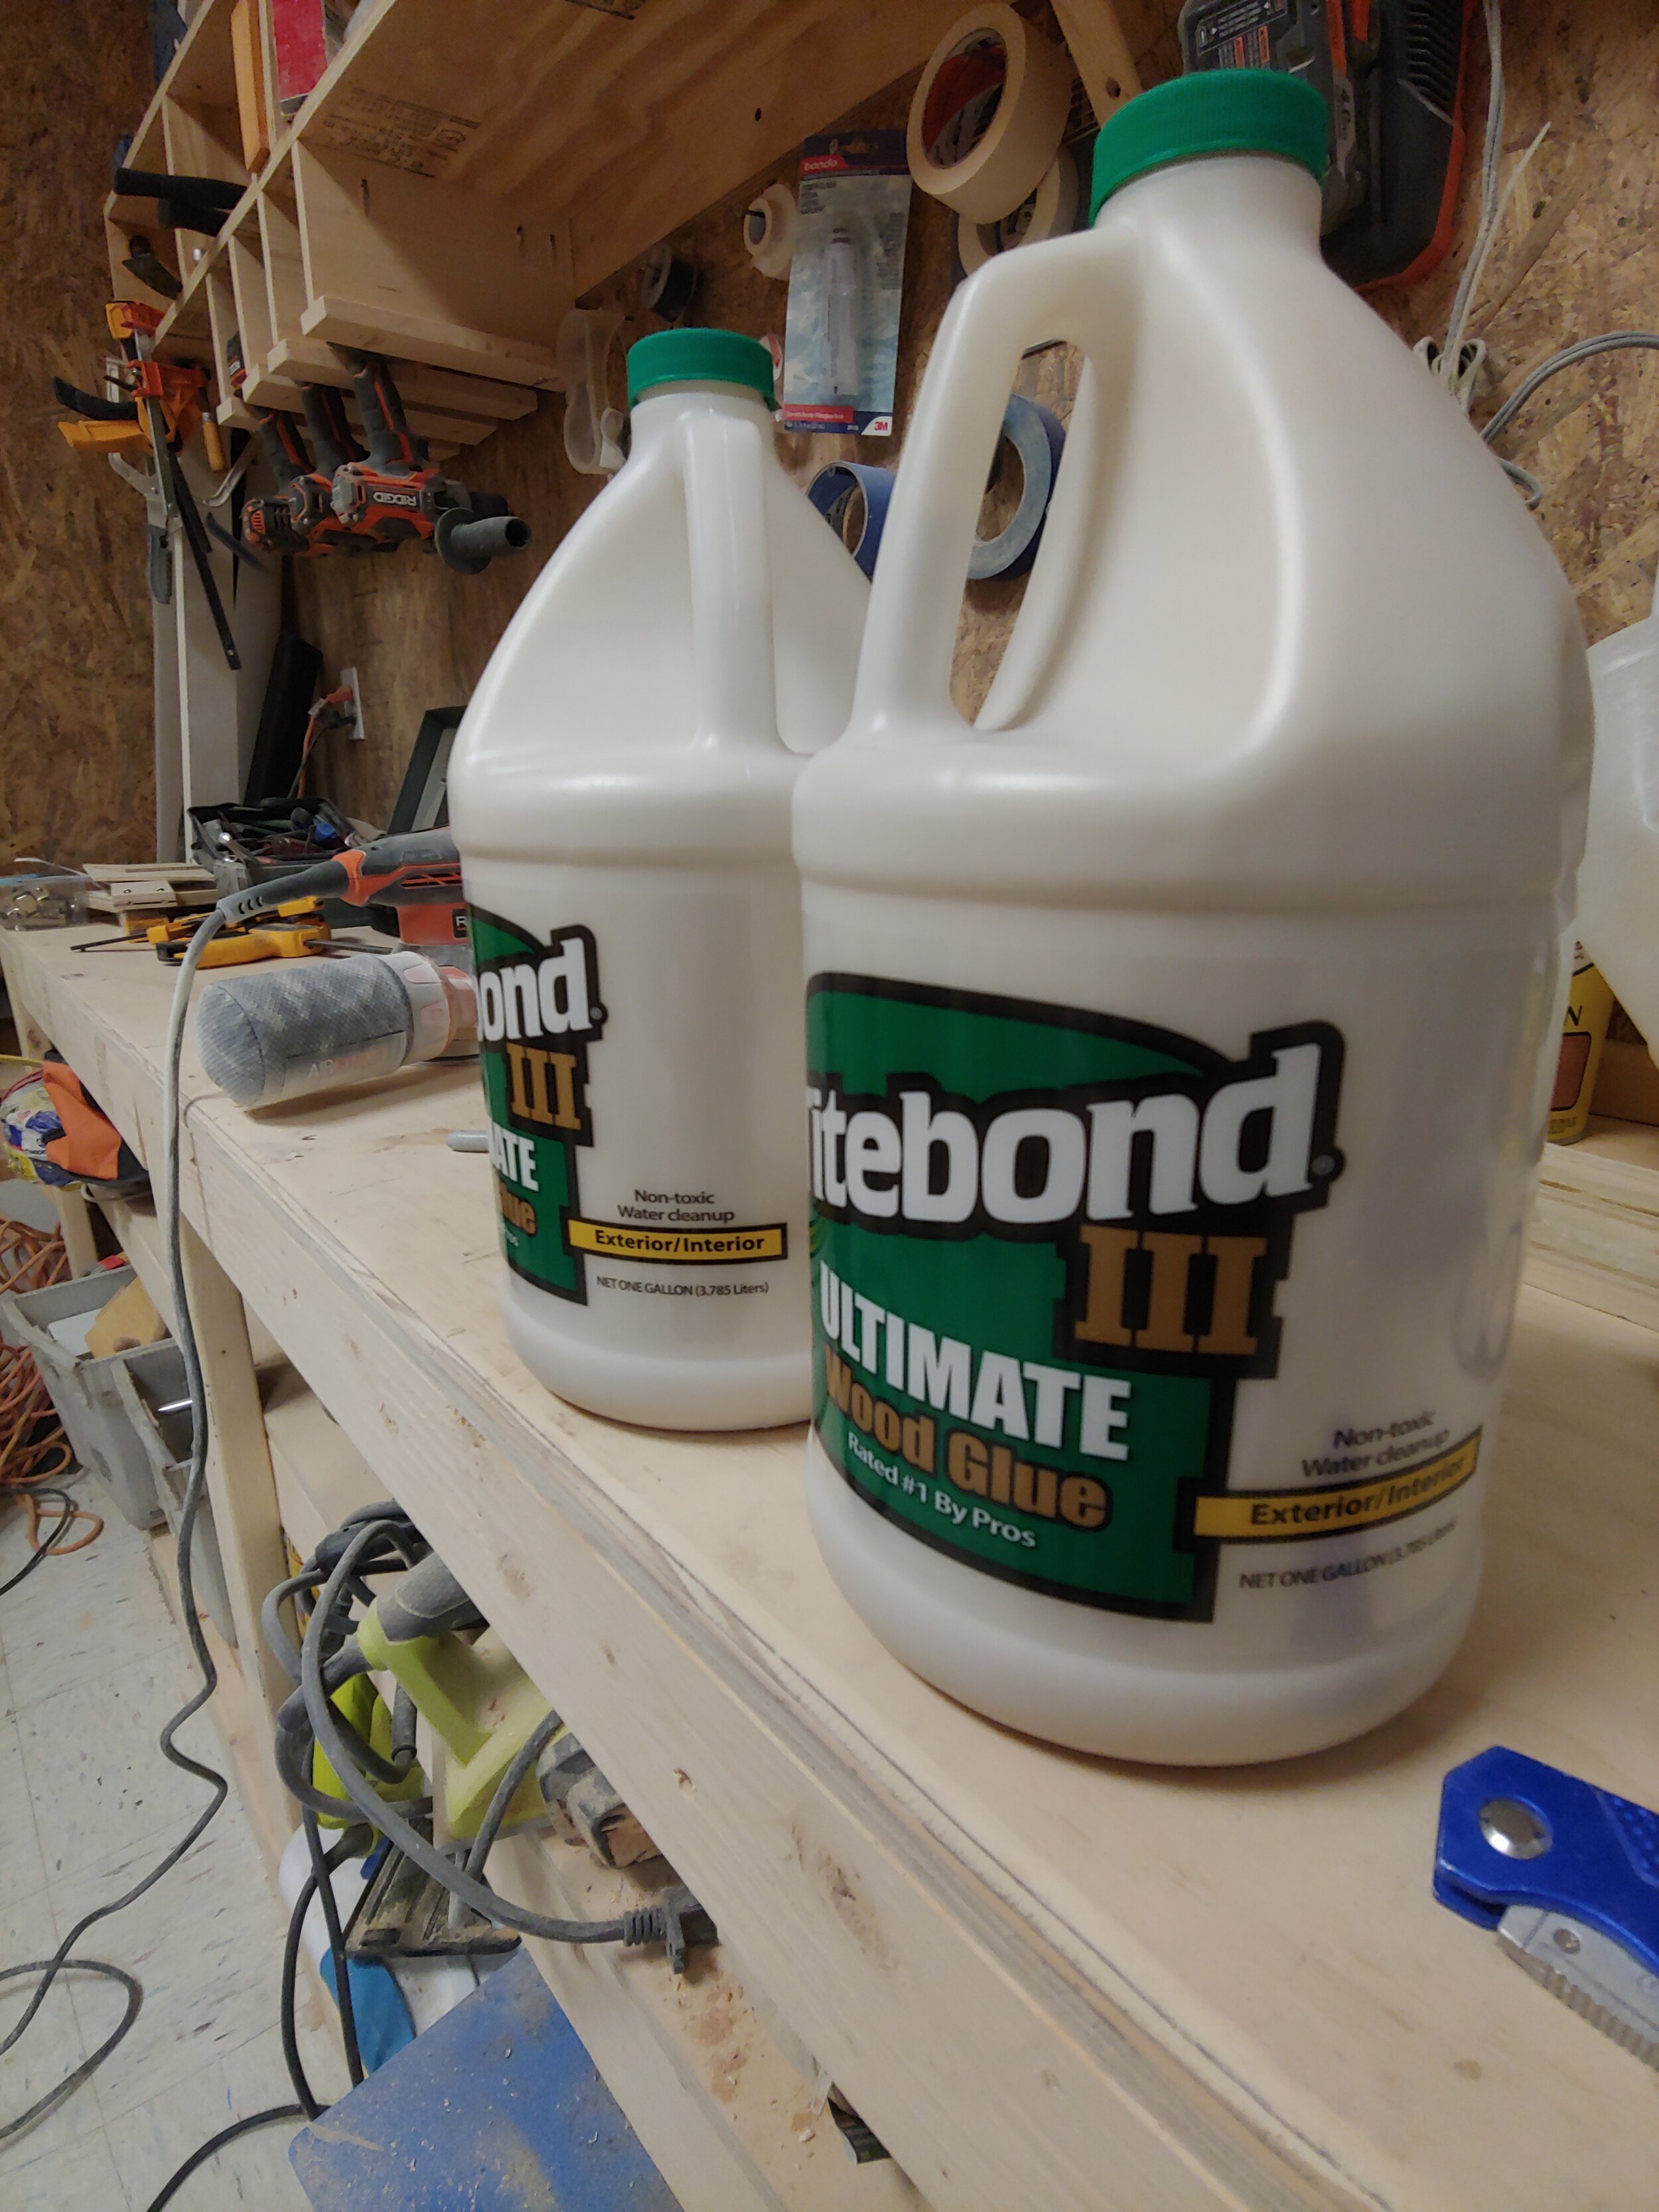
TiteBondIII Glue
Lucid Grip
SkateDeck Mold
Roarockit thin air press vacuum bag
Step 1: Make a Mold
Making a mold can be done out of styrofoam, concrete, or wood. Being a wood worker, decided to make 2 molds out of wood using a base template from diyskate.com. We then used that base to create custom cruiser molds. 1 mold with good concave, tail rocker, and wheel flair outs. The other mold for longboard cruisers with moderate concave and tail rocker. Each 2x6 was cut and we made a top and bottom mold even though we ended up only using the top mold since we decided to do the vacuum bag method. Each 2x6 cut was glued and screwed together. Then we sanded and used joint compound to smooth out the imperfections.
This is probably one of the most important and time consuming parts. You want to make sure the entire mold is perfect and symmetrical .
Step 2: Glueing UP
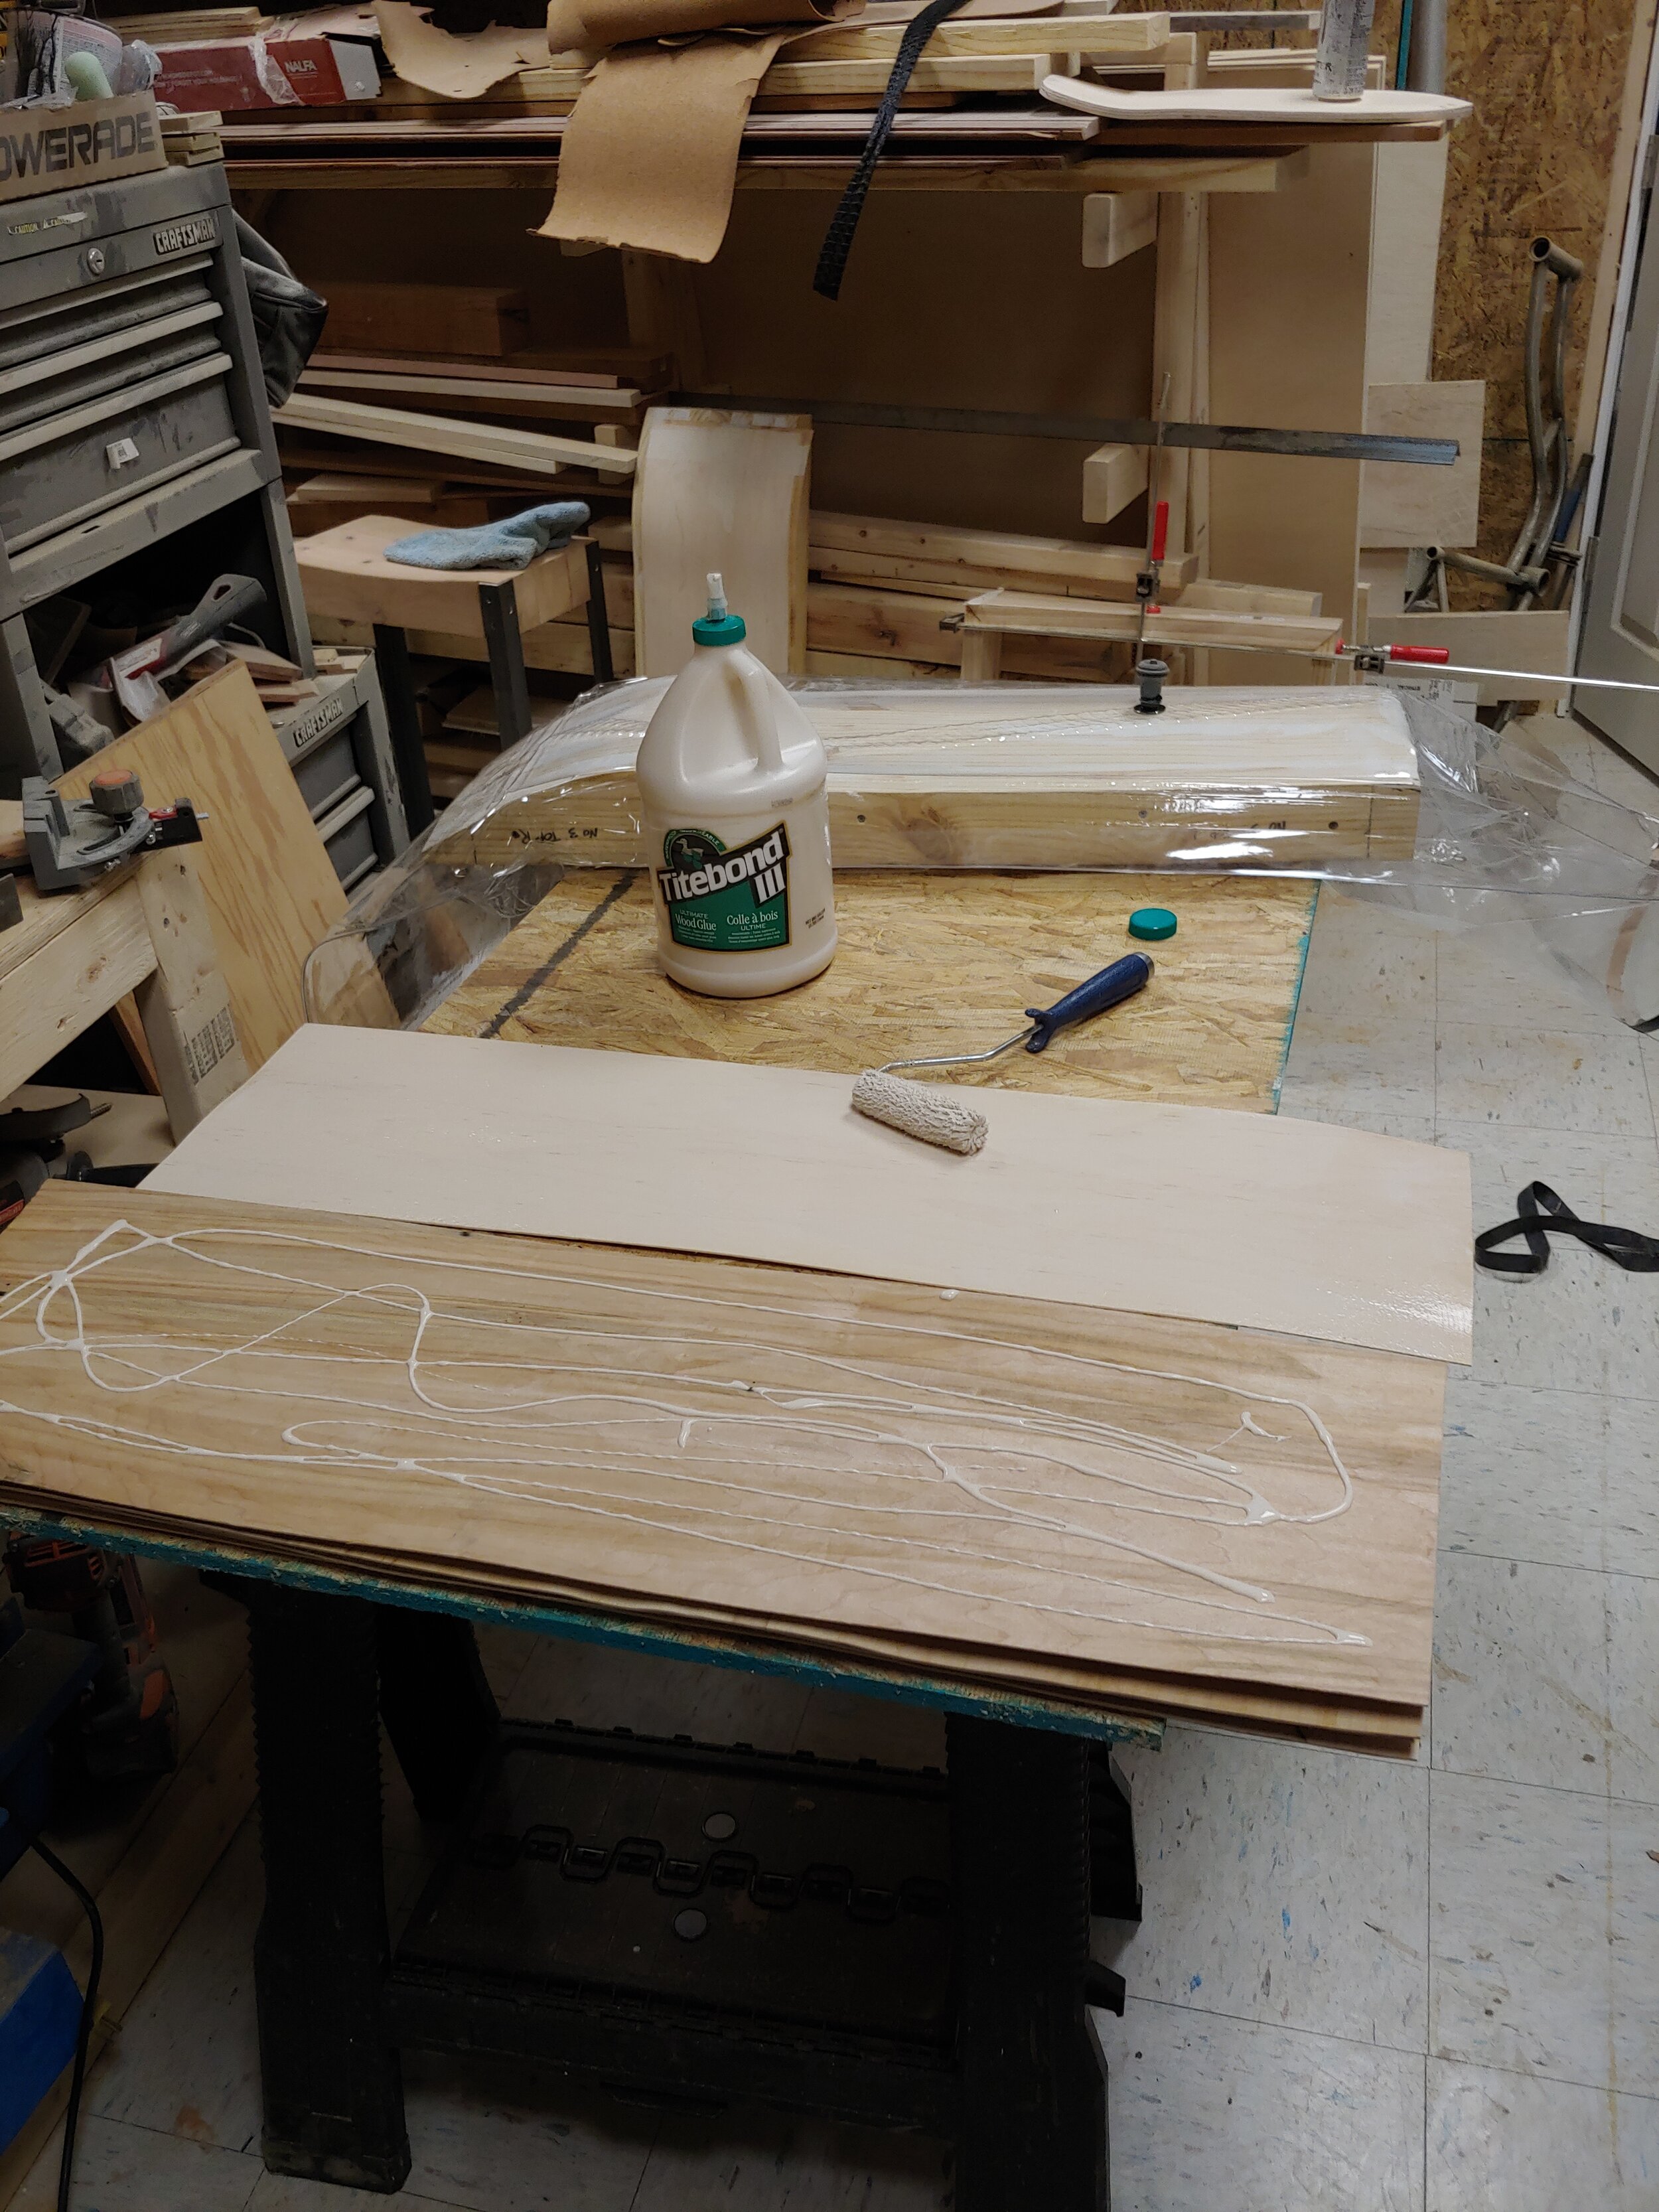
Next step is to glue up your deck. Using 7 layers of veneer (2 faces, 3 core, 2 cross grains) in the order of (face, core, cross, core, cross, core, face) we glue up each layer. It’s good to have your board in the order you want it pressed. Using Titebond3 which has the same skate glue ingredients and properties and a roller, we apply glue to both sides of each layer except for the top and bottom faces. Each deck takes roughly 12oz of glue. We keep the roller primed and just keep in a bag when not in use so we can reuse everyday for each glue up. You’ll want to work fast because glue will start to set and you want to get each layer glued and pressed as quickly as possible.
Step 3: Pressing
Now that you have all the layers glued, you’ll want to have your mold already inside your vacuum bag ready. Ive gotten into the habit of masking tape the corners to get the deck layers together while handling. You’ll want to work fast before the glue starts to set. I slide my deck into position on the mold in the bag and center it. I then seal the bag as tightly as I can on the seam so there’s no leaks. I quickly use my shop vac to suck most of the air out. I make sure to pull the bag down so it doesn’t go between the deck and the mold and I use clamps to help hold in place while the bag gets to pressure. Once all the excess air has been sucked out with the shop vac, I use the roarockit pump to get it to pressure which I was told can go up to 15 psi. Once you can’t pump anymore on the 1 way valve, wait a few minutes and check back and make sure there’s no leaks on the seam or valve. I then wait a minimum of 8hrs before taking out.
Step 4: Cutting Profiles
Once the pressing is done, you can release pressure from the bag and take out your molded skate deck. All the layers should be firmly glued with no gaps. Cutting the profile is the real test that you got a tight bond. So you can always hand draw your profile, but I made a computer design of my deck profiles of the exact shape I want and print out on multiple sheets and spliced them together to make it true to size. I then cut out and use this as my template. You only need half a template because you can just flip and mirror the profile for the other side. If im making that design in batches, I cut out the first deck and make sure its what I want and use that as a template for the rest. Once the profile has been drawn, I use a jig saw or a band saw preferably to cut out my profile. I try and stay to the outside of the profile lines since I’ll be sanding the profile. Once you profile is cut, inspect the seams and whole board to make sure there are no warps and the plyed veneer is perfect.
Step 5: Shaping The Board
There’s a bunch of steps in shaping and different ways to do it with different tools. Using what I have, I take the deck to my belt sander to smooth out the profile. If there’s any bumps or not smooth areas on my profile, I take those out and ensure my profile is smooth and symmetrical.
Once Im happy with the profile, I use a radius router bit and put a radius on both sides of my deck on the profile. Some areas are hard to get with the tail rocker and concave but I do the best I can. Once routed, I take to my hand sander and smooth out the beveled areas to make even and smooth out all the rails. This can be a long process and you’ll want to take your time. A drum sander works great here but unfortunately I don’t own one. I then do a sanding on the top and bottom layers.
Step 6: Drilling for Trucks
You will want to drill your holes accurately and best way is to have a spare skate truck on hand. Ive made a jig that I use to ensure all the holes are even with the truck’s holes. I also draw a pencil center line down the board to make sure my truck holes are centered on the deck. I start off just with a small bit or just enough depth to mark it. I then use a counter sink so the bolts will not be sticking out. I then use the correct size drill bit for the truck hardware. Drill straight and not too hard or it will punch the wood out the back.
Step 7: Sand Again
This is my final sand. I make sure the board is perfect and smooth all around and it cleans up the area around the holes and use higher grit sand paper.
Step 8: Finishing
Now is the time we stain the decks. We’ve been going with a natural stain to bring out the natural grains in the maple veneer. Once the stain is dry, we screen print our design on our printing press with water based inks. The ink dries quick so once cleaned up, we tape off for painting. I use a bit of clear coat on the edge of the tape and let dry and then sand so it seals the tape for a perfect paint line. I then prime it, let dry, color coat, let dry and do multiple coats when needed. Once completely dry on paint, I do multiple coats of polyurethane or lacker to protect the finish and edges of the board. More important on the bottom since we apply grip to the top.
Step 9: Adding Grip
The deck is essentially done but we want our decks going out ready to be built with trucks and wheels so we use a product called Lucid Grip. It goes on clear and we use a medium grip. We first spray the board and then sprinkle the grit so it sticks, then we spray the whole top layer again so it seals the grip in. This can be reapplied later and goes on clear so it gives the board its original finish colors and stains.
Step 10: Shred!!!
The deck is ready to go and be built out however the user sees fit. We like surfing of course so we recommend the Water Bourne Surf Adaptor to give that feeling of surfing on concrete. It really does feel the closest thing to surfing that I’ve experienced! Build out your deck and go shred some concrete!
For more info on our decks, check out this FAQ page:
https://www.surfdayton.com/blog/2020/4/11/surf-dayton-skate-deck-faq


